Changes to our piece of pumpkin

Changes to our piece of pumpkin

Pencil and paper
Overview
Using this Resource
Connecting to the Curriculum
Marking Student Responses
Further Resources
This task is about making observations over time.
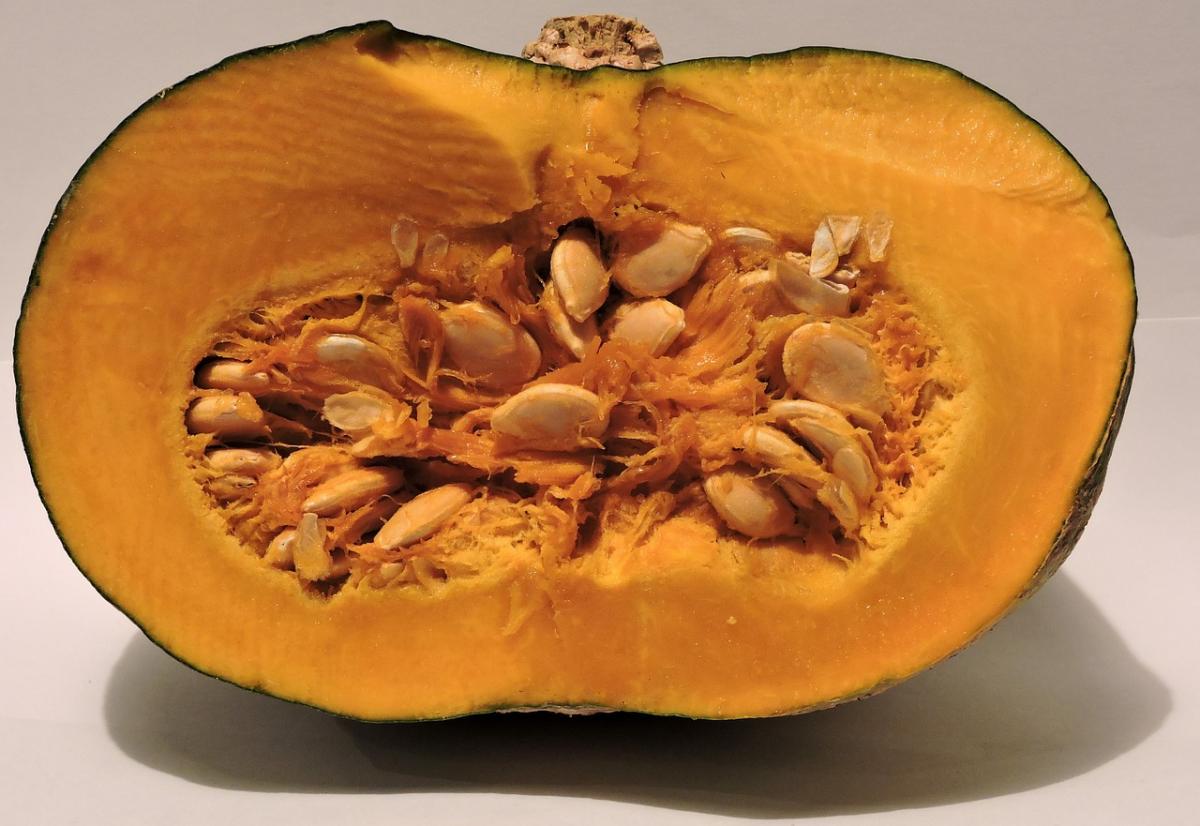
illustration: cut half of pumpkin

Write down all the changes you see happen to this piece of pumpkin over the next two weeks.
You will need to write down what the pumpkin looks like at the start.
 
Date
What the pumpkin looks like
 Start


Date

What the pumpkin looks like


Task administration: 
This task can be completed with pencil and paper.
 
Equipment:
Piece of pumpkin; Student Record Sheet (see Student Resource).
  • This task assesses students' ability to make observations.
  • Cut a slice of pumpkin. (We used a slice of grey pumpkin and left it in two places – on a kitchen bench and in a cupboard under the wash tub).
  • Tell the students they will be observing and recording what the pumpkin looks like at the start, and the changes that will happen over time.
  • Have the students write down their observations at the start, and at regular intervals. We made observations over a 2 week period, and found it was best to make observations every 2nd day. (See Marking student responses on the observations that we made. These give an idea of type of change and when the changes occur).
  • Alternatively, especially if you are more interested in collecting evidence of students' observation skills rather than ability to record accurately, observations could  be recorded by the teacher, providing a whole class, rather than individual records.
  • Another alternative is for students to draw their observations.
  • Although the main focus is on observation, students should be encouraged to discuss their ideas about what might be causing the changes, and why there might be differences at the two observation spots.
  • Students may have other ideas about where to leave the pumpkin, e.g. the fridge. Ask them to predict what they think will happen.
Level:
2
Description of task: 
For this practical task students are assessed on their ability to record their observations of the decomposition of a cut slice of pumpkin over a two week time period.
Curriculum Links: 
Science capabilities
The capabilities focus is brought about by the conversations you have and the questions you ask.
 
Capability:  Gather and interpret data and Interpret representations
This resource provides opportunities to collect data and discuss the advantages and disadvantages of different ways of recording observations.
 
Science capabilities: 
Answers/responses: 

What to look for

Best response: Has a complete set of dates and observations. Observations cover all the main features that need to be noted, e.g., colour, appearance, and mould.

Partial responses: Has a near complete set of dates but observations cover all the main features. Or, has a complete set of dates and observations but 1 or 2 features are missing. Has complete dates and observations but observations lack detail, i.e., some main features are missing. 

NOTE: Students may include annotated drawings to show their observations.

Observations from our trial. (This is not a marking schedule).

Date

What the pumpkin looks like

29th August

Bench: Pumpkin flesh is wet/moist with drops of moisture forming on the cut surface, grey skin of pumpkin is hard, the piece of pumpkin is firm to touch with the centre area with the seeds a lot more moist.
Cupboard underneath: As above.

1st September

Bench: The flesh has dried out slightly and getting hard to touch from drying, the flesh surface is taut.
Cupboard underneath: Skin moist around the pip area, the flesh of the pumpkin is drier, grey outer skin no change to surface.

6th September

Bench: The surface of the pumpkin is starting to get mouldy, the mould is grey and "fluffy". The outer flesh is dry and stretched/taut, but the area under the cut surface has shrunk in its size. Cut sides are starting to slightly curve inwards towards each other.
Cupboard underneath: Pumpkin flesh is still moist and grey outer skin still firm. Very moist in the area of the pips, oozing wet stuff.

9th September

Bench: Pumpkin skin around the pip area is very wrinkly, and the cut sides have curled in towards each other a lot more, the pips are dry, but the area under the pips is still moist when the pips are moved. Black mould has appeared in small patches as well close to the pip area. White mould has increased on the cut surface on both sides of pumpkin.
Cupboard underneath:White mould dripping down from the pip area of the pumpkin, inside the pip area has liquefied, pips growing mould, smells bad, when picked up centre area fell out of the cut pumpkin. End of experiment for this piece of pumpkin.

12th September

Bench: The outer skin has become very wrinkly and dry, the outer grey skin of the pumpkin has curled in towards the other side a lot more, black spots of mould have increased on the cut surface, and large amounts of white "fluffy" mould present.

14th September Bench: More white fluffy mould so that the outer flesh beyond the pips is covered with this mould. The black mould is still present on the cut surface and around the edges of the pips. The outer grey skin is very wrinkly and desiccated and very hard to touch, the surface is also very rough from all the wrinkles. The cut edges are now a centimetre from touching each other. The piece of pumpkin feels very dry and very light. The pumpkin flesh and mass has shrunk considerably.
Experiment ended as no more drastic changes occurred after this point of time.